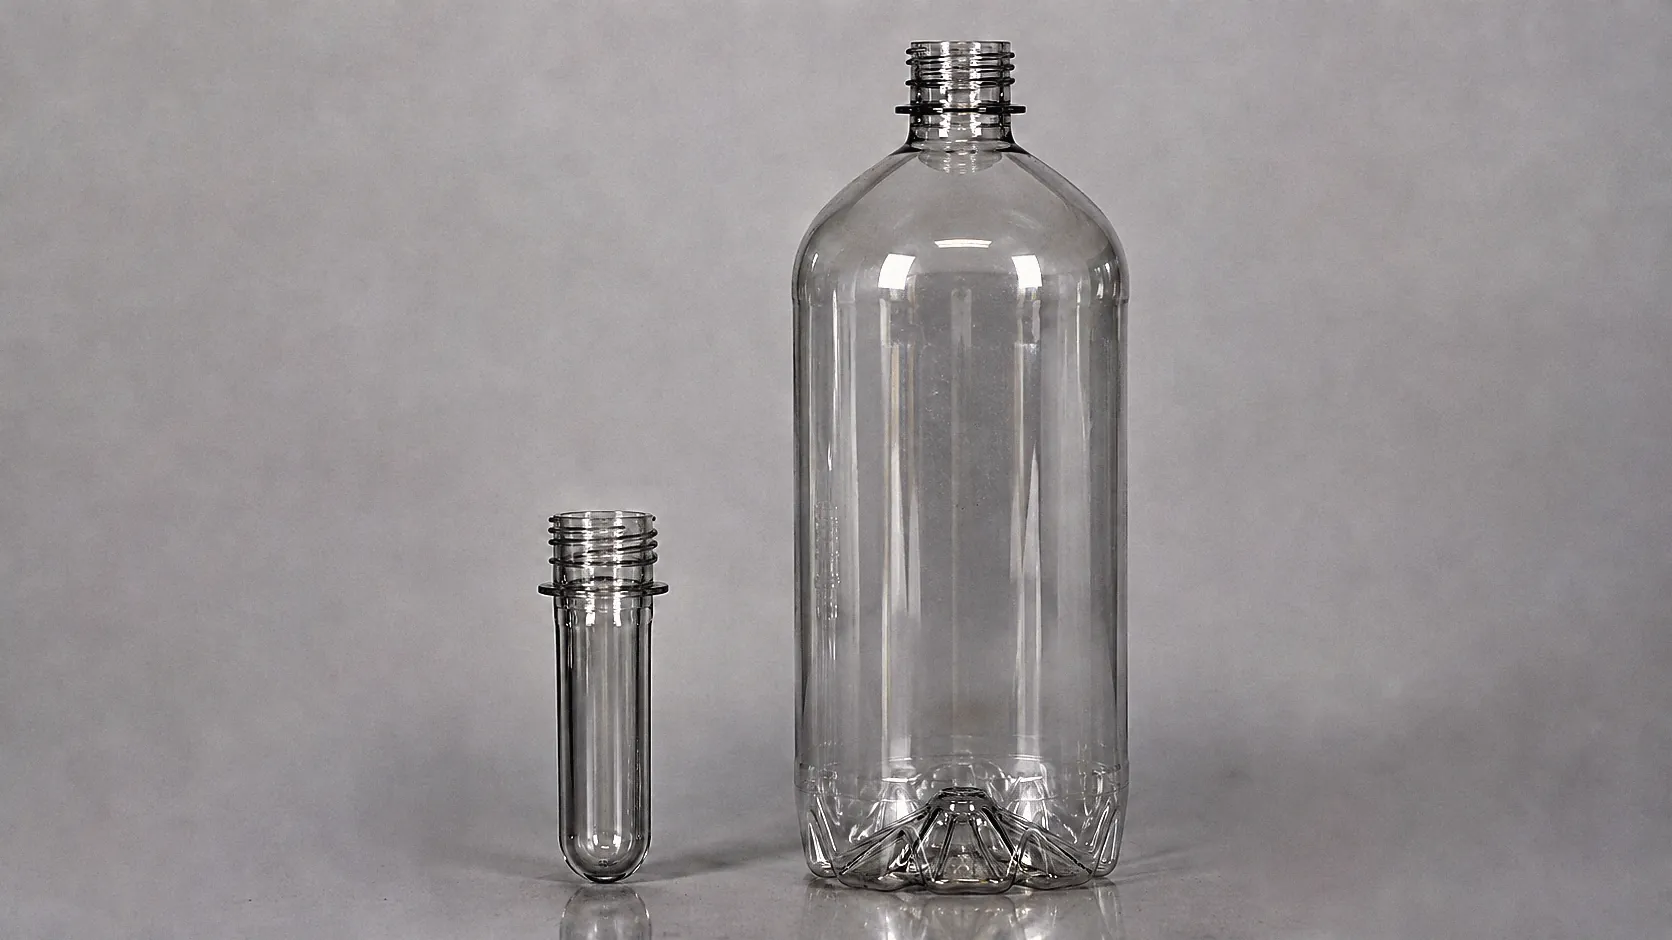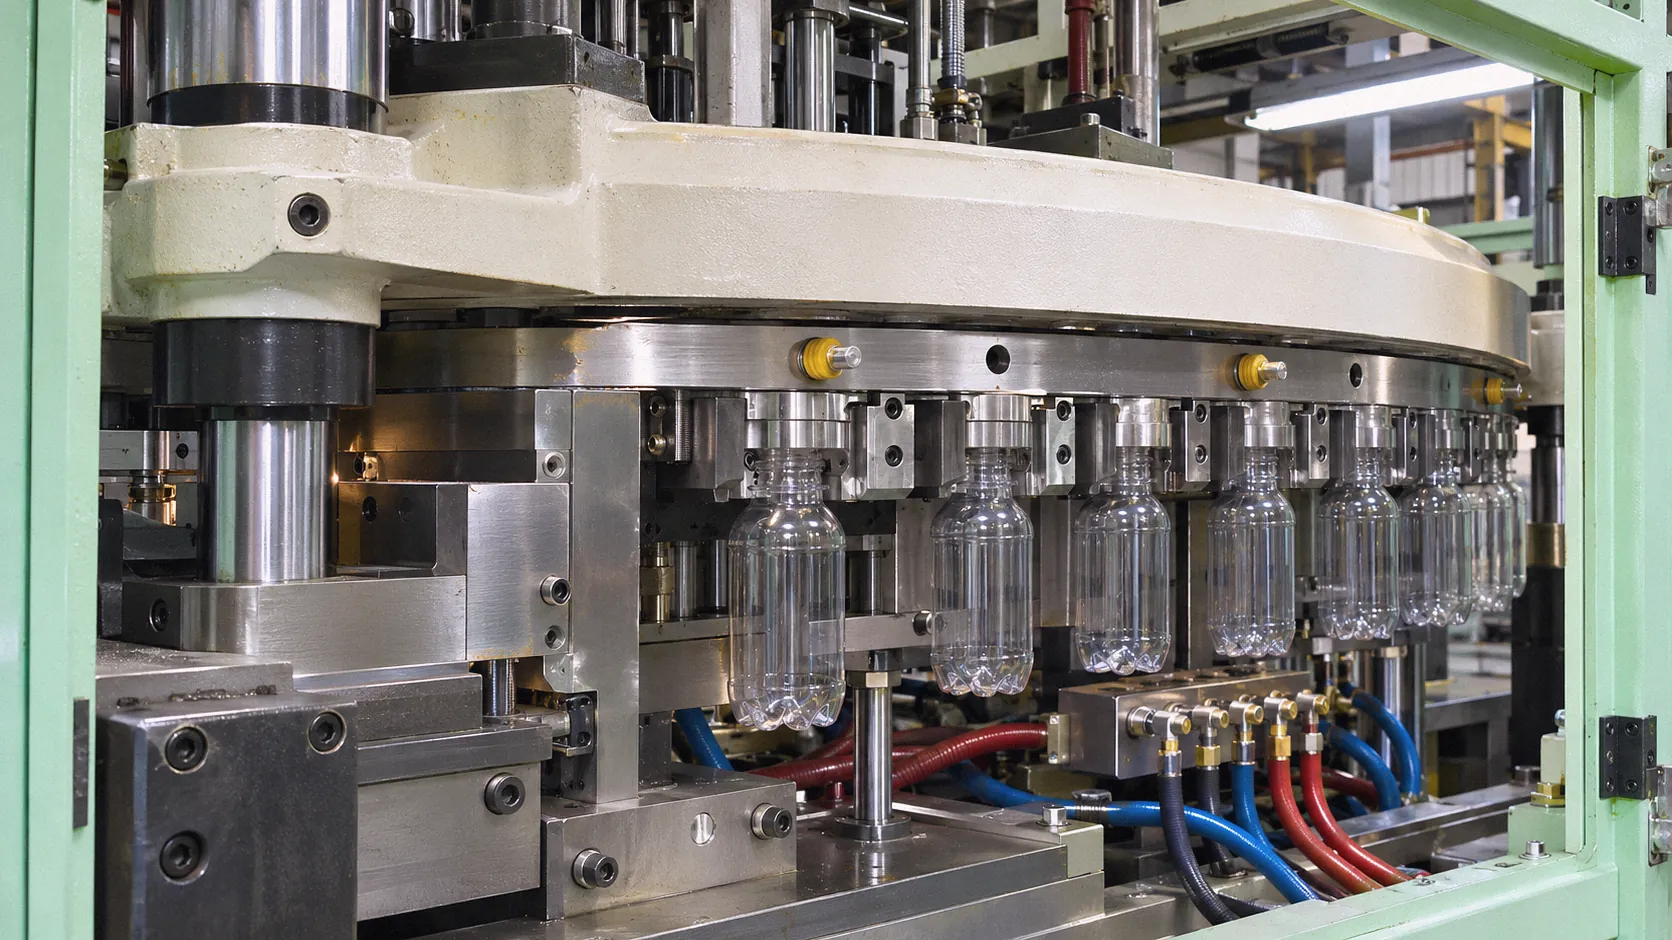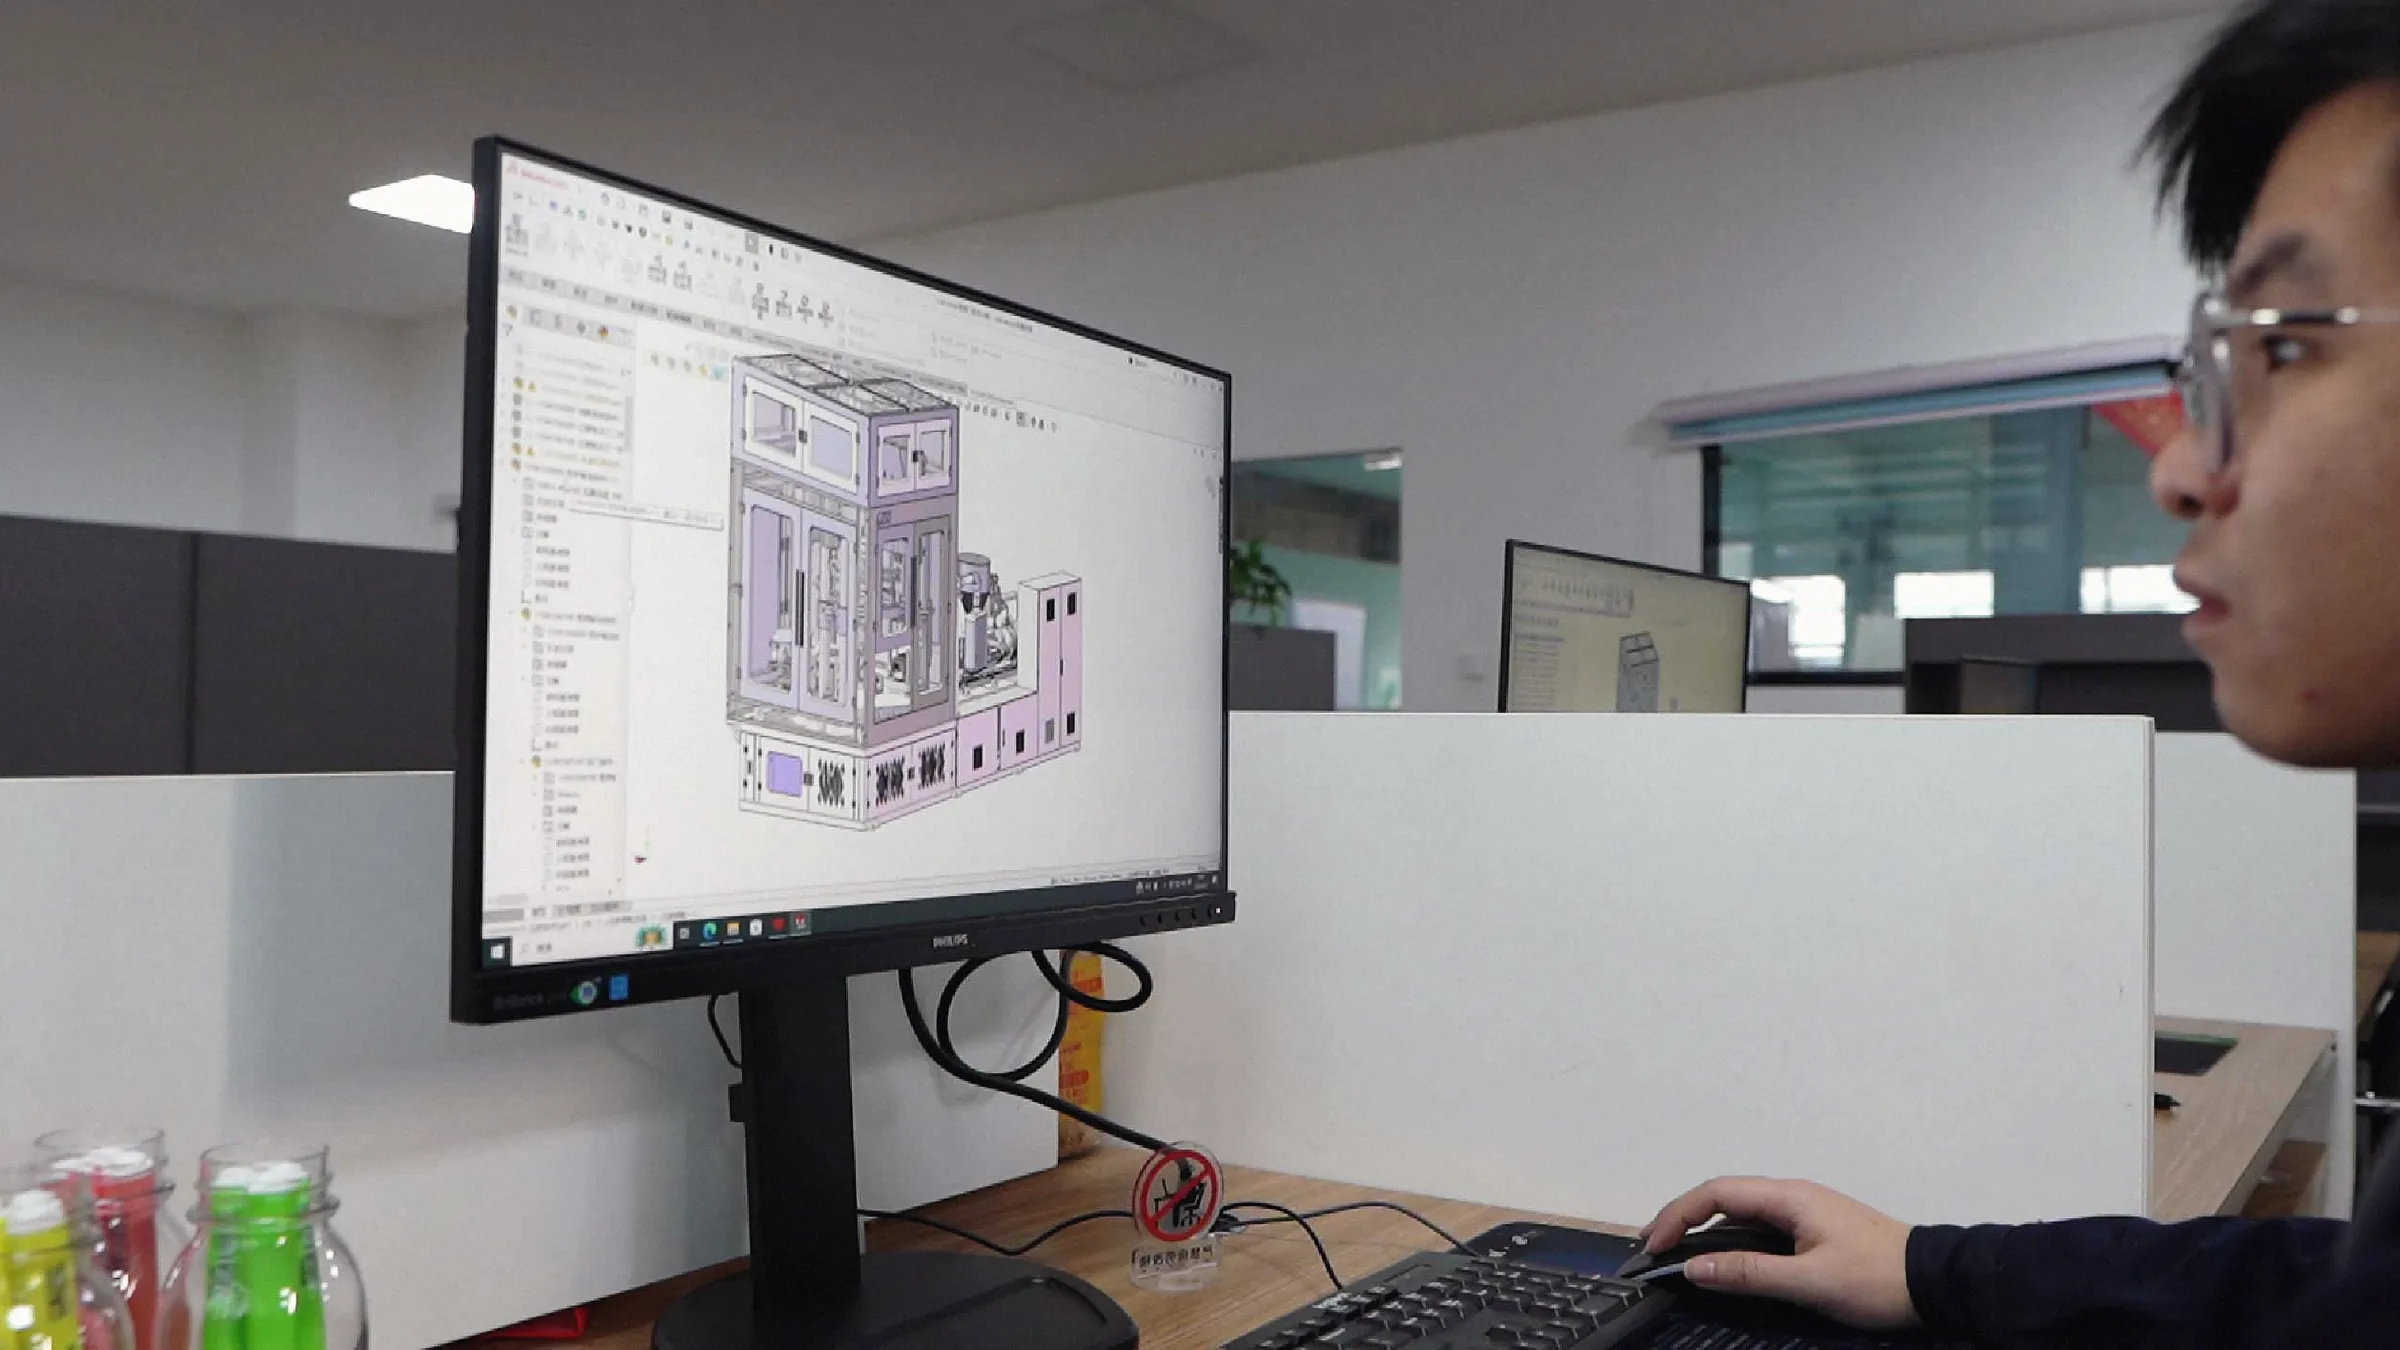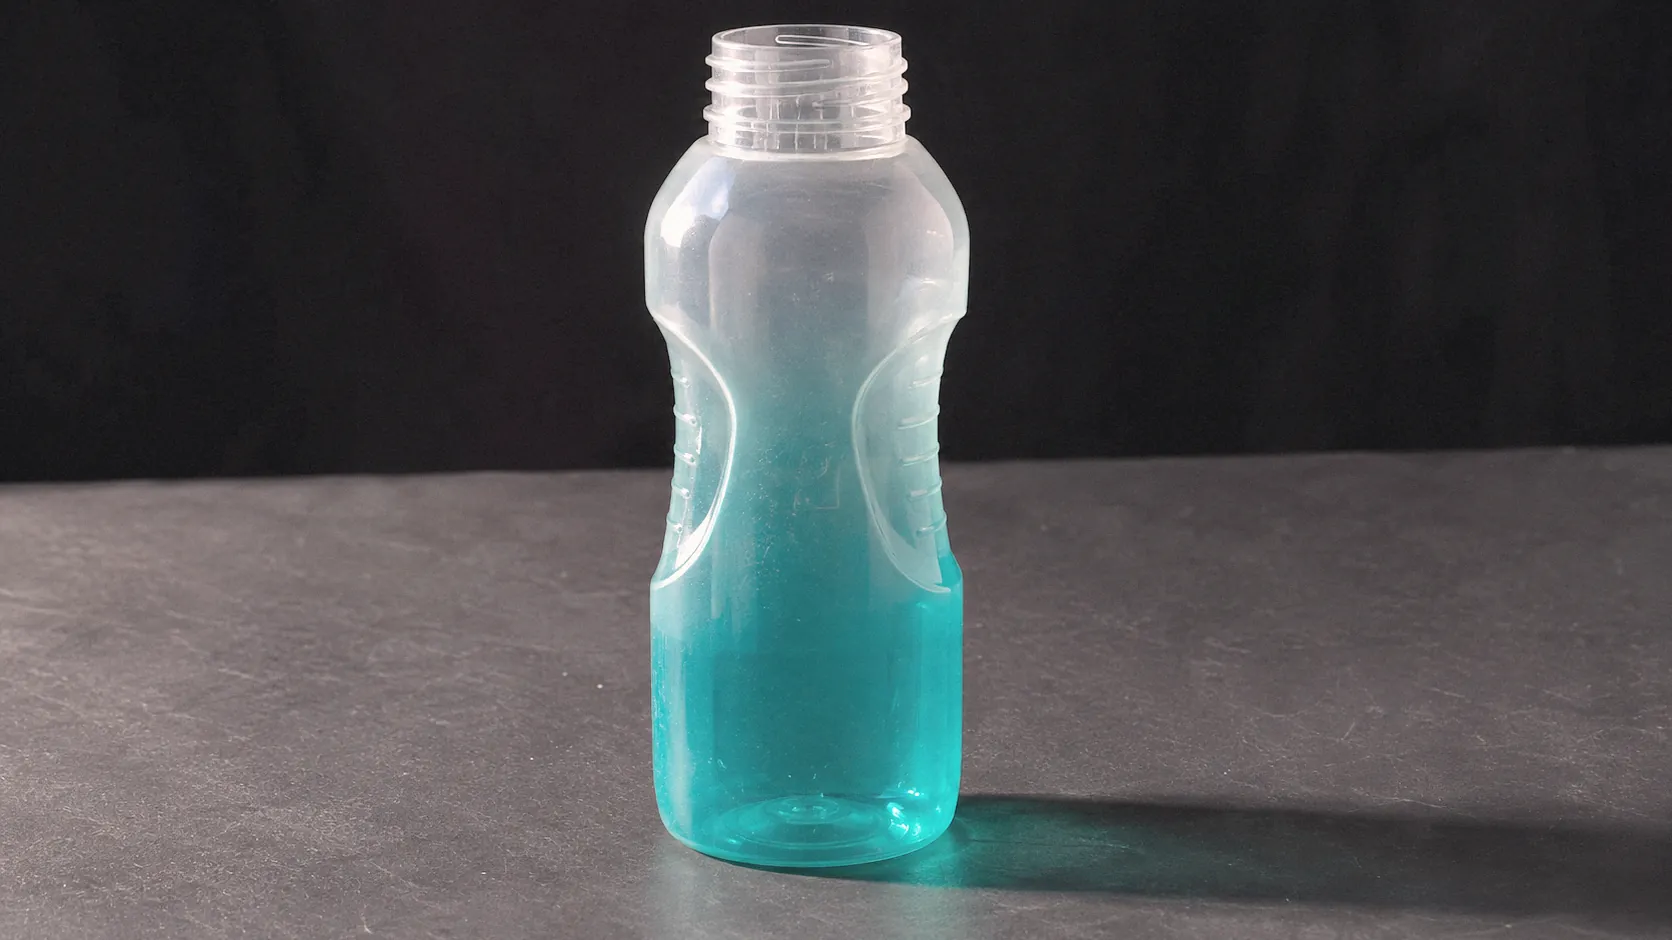

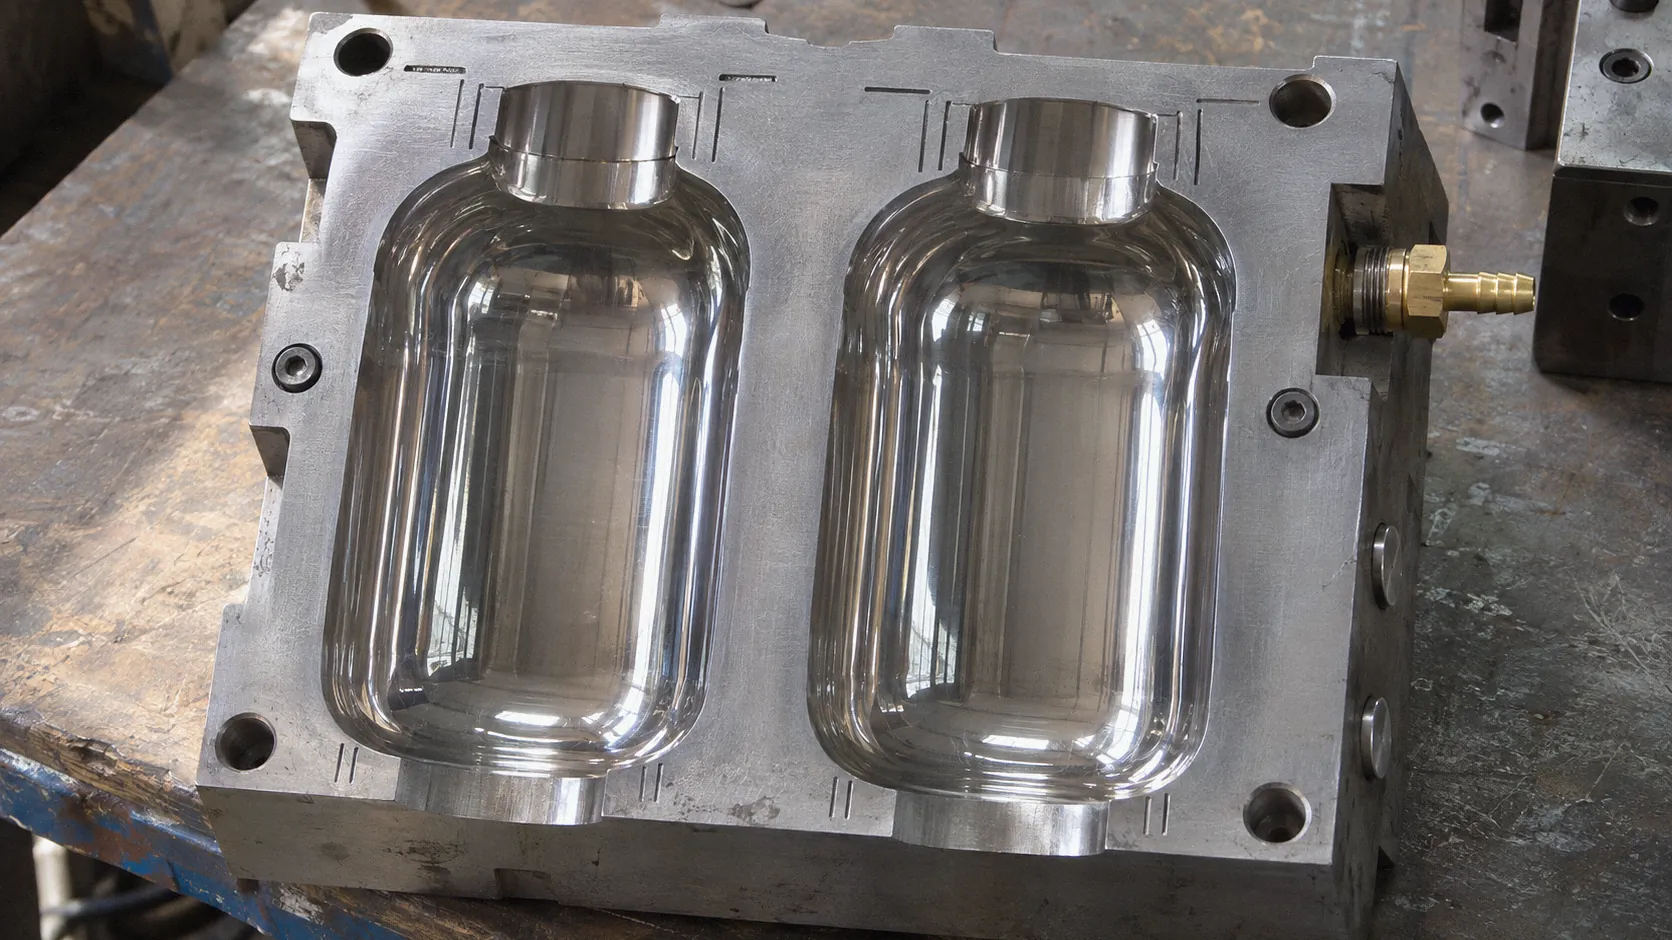
An ISBM mold set has four groups of parts: a preform injection mold with its hot runner, the core rods that form the inside of each preform, the neck molds that carry the preform from station to station, and the blow molds that give the container its final shape. On a four-station machine, conditioning tooling sits between the injection and blow sides. Together they decide the container’s weight, neck, shape, surface and cycle time.
This guide explains each part of a one-step injection stretch blow mold (also written mould), how cavity count is chosen, and the design points to agree before steel is cut.
The parts of a one-step mold set
Each part of the set controls a different feature of the container, which is why problems can usually be traced to one of them.
| Part | Station | Controls |
|---|---|---|
| Preform cavity and hot runner | Injection | Preform outside shape, weight, gate quality, fill balance |
| Core rods | Injection (and blow, on some designs) | Preform inside shape, inside cooling |
| Neck molds | All stations | Neck finish, threads, tamper bands, transfer |
| Conditioning pots or cores | Conditioning (four-station) | Preform temperature profile |
| Blow mold halves and base insert | Blow | Container shape, surface, engraving, base |
| Stretch rod tips | Blow | Centering of the gate, axial stretch |
Injection side: preform cavity, hot runner and core rods
The injection side makes the preform, and it sets most of the cost and the cycle. Melt enters through the hot runner and gates into each cavity, and the core rod forms the inside. Because the preform cools against both the cavity and the core, their cooling channels largely set the cycle time.
Gate quality deserves attention early. Ottmar Brandau lists hot-runner quality problems among the typical weak points of single-stage molding and recommends valve gates.[1] An uneven hot runner leads to cavity-to-cavity weight differences, which show up later as uneven walls.
Core rods need a taper so they can be withdrawn from the preform. That taper, and the preform’s wall profile, are part of the preform design discussed in our preform design guide.
Neck molds: the part that makes one-step different
The neck molds close around the neck at injection and hold the preform until ejection. In a one-step process the neck is molded once and never reheated, which is what allows finishes that are difficult in two-step production. Paul Atkin of Nissei ASB lists complex necks with undercuts, tabs, gears and holes, thin necks, and injection-molded shoulders among the designs one-step molding makes possible.[2]
Because every preform passes through a neck mold at every station, neck molds must match each other closely across all positions on the table. A worn neck insert shows up as a thread defect on every container from that position.
Conditioning tooling (four-station machines)
On a four-station machine, conditioning pots or cores adjust the preform temperature before blowing. Atkin describes overall, partial or spot heating and cooling at this station.[2] Conditioning tooling is designed together with the preform: it is how an oval or flat container gets more stretch on its long sides. Our guide on three or four stations covers when it is needed.
Blow side: blow molds, base and venting
The blow molds give the container its final shape and surface. They are split along the parting line and often have a separate base insert. Three details decide container quality here:
- Venting. Air trapped between the expanding wall and the mold blurs details and engravings.
- Base design. The base is where wall distribution and cooling are hardest. Brandau suggests a small well in the blow-mold bottom to accommodate the injection gate vestige.[3]
- Surface finish. Polished cavities give a glossy container; textures and frosted finishes are machined or blasted into the cavity.
Choosing the cavity count
Cavity count balances output against mold cost and flexibility. Start from annual volume and the expected cycle time, then check the machine limits: shot size, clamping force, table size and pitch.
SanSong’s published cases show how widely this varies with container size: a 2-cavity PP water cup, a 3-cavity juicer cup with a take-out robot, 4-cavity PET plasma separation cups, a 4-cavity sports bottle, a 6-cavity PET daily-chemical bottle and a 24-cavity Christmas-light bulb cover (resin confirmed per project; SanSong’s April 2026 brochures record PET).[4] Brandau notes that single-stage tooling is hard to justify below about 2,000,000 bottles a year, so low-volume products often share a preform across several blow molds.[1]
Design points to agree before cutting steel
Most mold changes after cutting come from points that were never written down. Agree these in the mold specification:
- Container drawing with tolerances, volume (brimful and fill), and target weight.
- Neck finish drawing and the closure it must fit.
- Resin grade and colorants, including any regrind.
- Preform design and the calculated stretch ratios for each container on that preform.
- Station layout: three-station or four-station.
- Base design, gate vestige and any standing-ring requirements.
- Surface finish, textures, engraving, and parting-line position.
- Trial conditions: resin supplied by whom, number of sample containers, and how they are measured.
Our buying guide on what to check before ordering a mold turns these into a checklist, and the guide on mold changeovers covers what happens once the mold is in production.
How SanSong can help
SanSong makes molds for its one-step ISBM machines, designed together with the preform and the station layout. Published cavity examples include 1-out-2, 1-out-3, 1-out-4, 1-out-6 and 1-out-24 sets. The molds run on the SS-400-60-03-01 three-station machine, the SS-400-60-03-02 two-color machine and the SS-400-110-04-02 four-station double-row machine.
To discuss a new mold or a compatibility check, see the bottle molds page or send us your container and neck drawings.
Frequently asked questions
Does an ISBM mold need a draft angle?
Draft matters most on the injection side, where the core rod has to be withdrawn from the preform, so preform cores are tapered. Blow-molded walls release when the mold halves open, so draft there is mainly a question for deep ribs, textures and the base insert. Your mold designer sets these values for the resin and shape.
Can one preform make several container sizes?
Often, yes. Containers with the same neck finish and similar weight can share a preform and its injection mold while using different blow molds, which lowers the cost of a product family. Stretch ratios must stay within the resin’s window for every container.
How many cavities should my ISBM mold have?
Start from annual volume and the planned cycle time, then check the machine’s shot size, clamping force and table size. SanSong’s published mold examples range from 2 to 24 cavities depending on container size.
Can a mold from another supplier run on a SanSong machine?
Only if the mold interfaces match the machine: pitch, neck-mold mounting, hot-runner connections, stroke and cooling. Send the mold drawings for a compatibility review before planning on it.
Sources
- Blow Molding: Single- or Two-Stage PET Bottle Making? Get to Know Your Options, Plastics Technology (Ottmar Brandau).
- Update on one step injection stretch blow molding, PETnology (Paul Atkin, Nissei ASB), .
- How to Address Uneven Wall Thickness in Stretch Blow Molding, Plastics Technology (Ottmar Brandau).
- Injection stretch blow molds and application cases, SanSong (lzsansong.com).
Editorial note: written from the public sources listed above and SanSong’s published product information, checked on the dates shown. It is general guidance, not legal or compliance advice. Specifications not yet published by SanSong are confirmed during the project review.