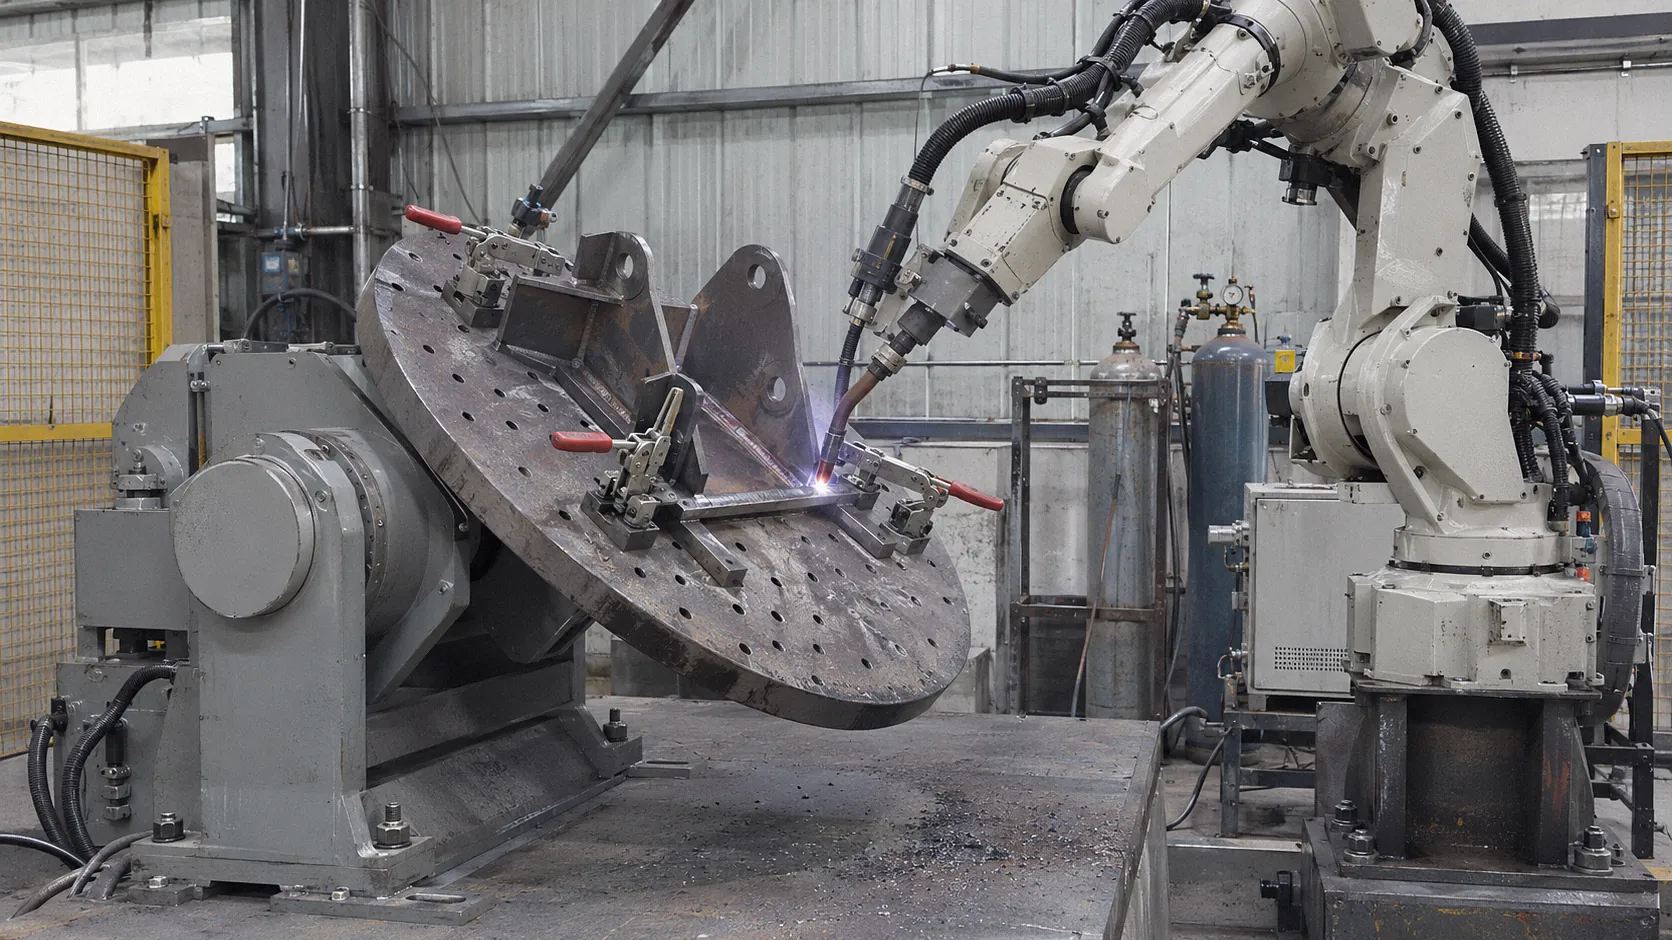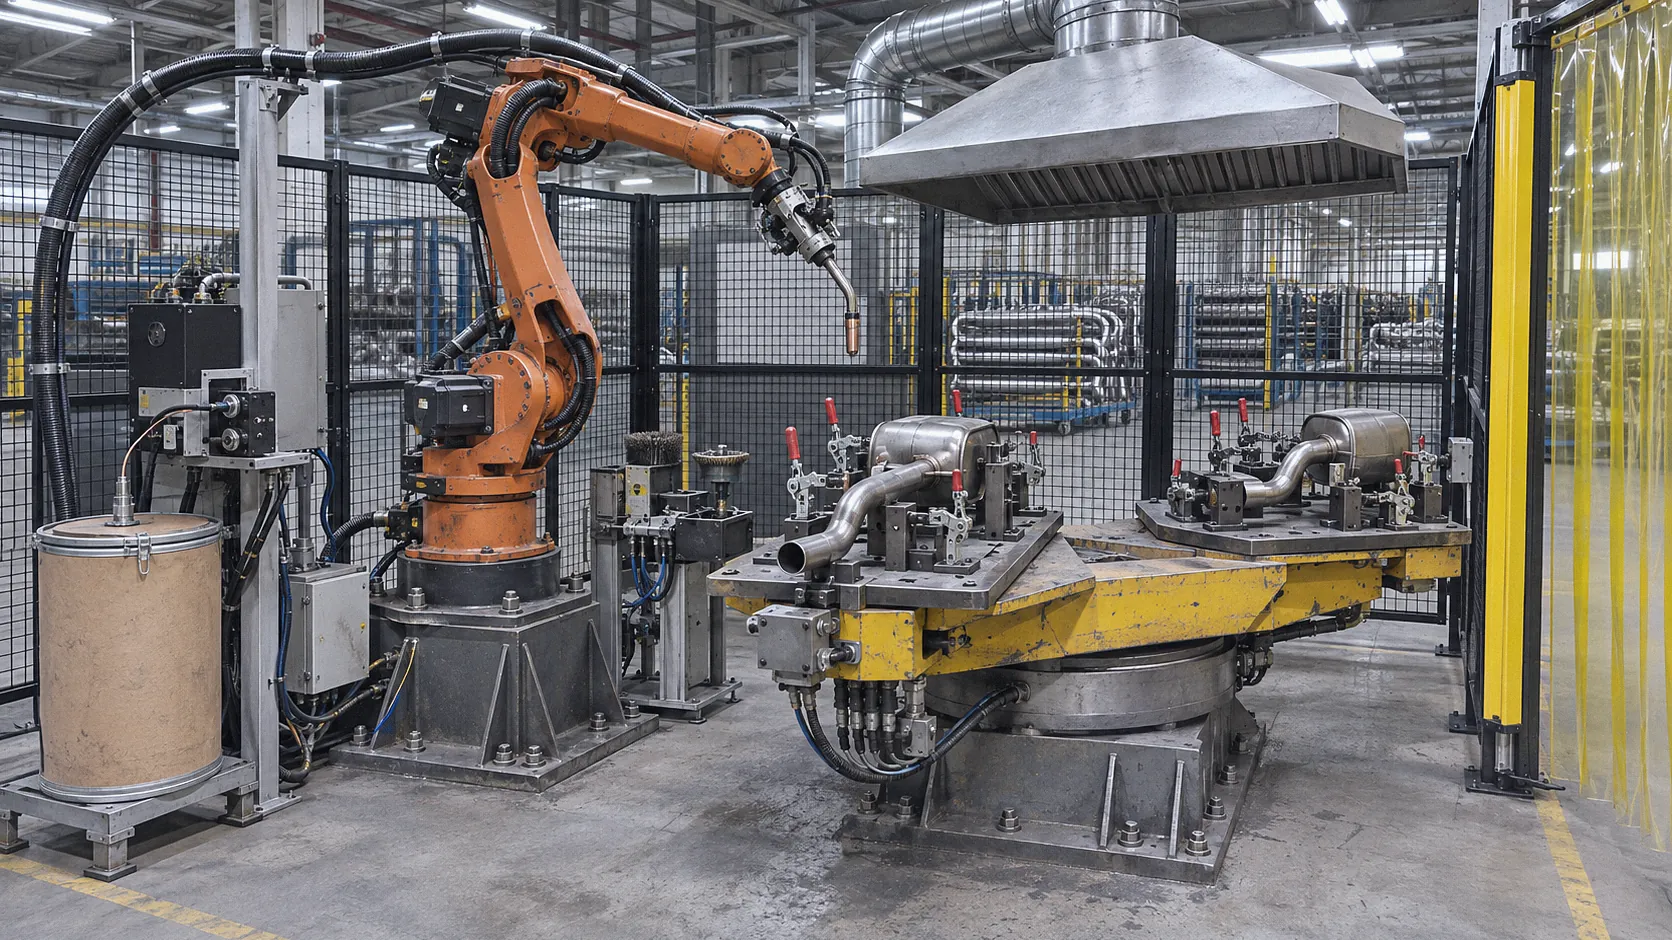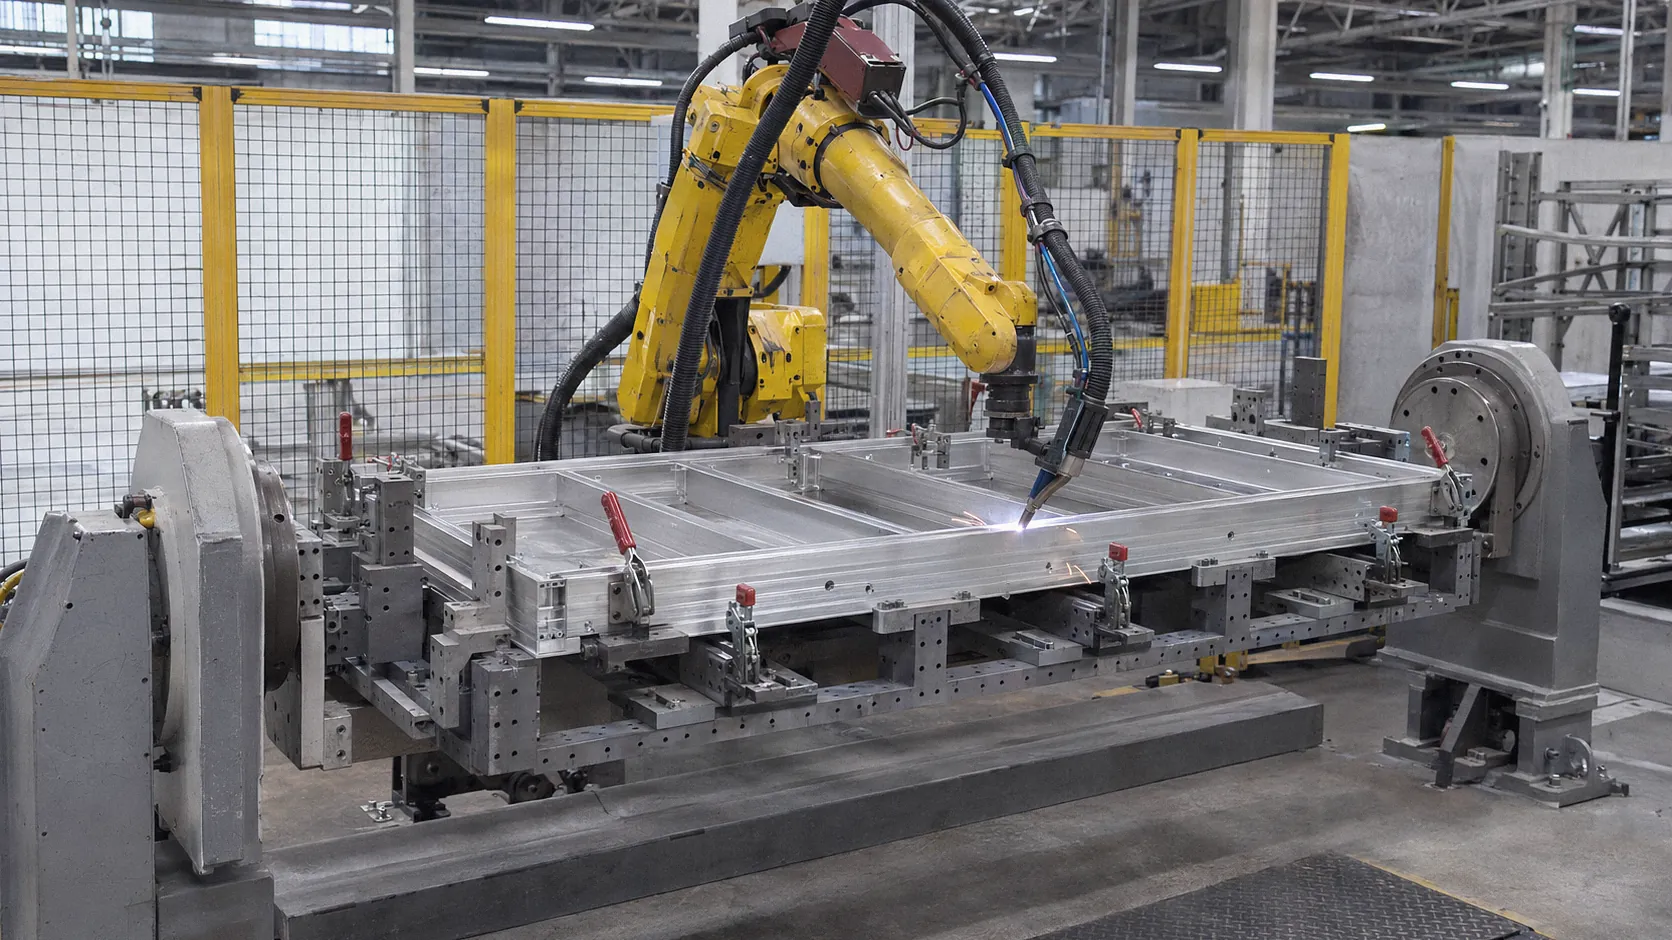

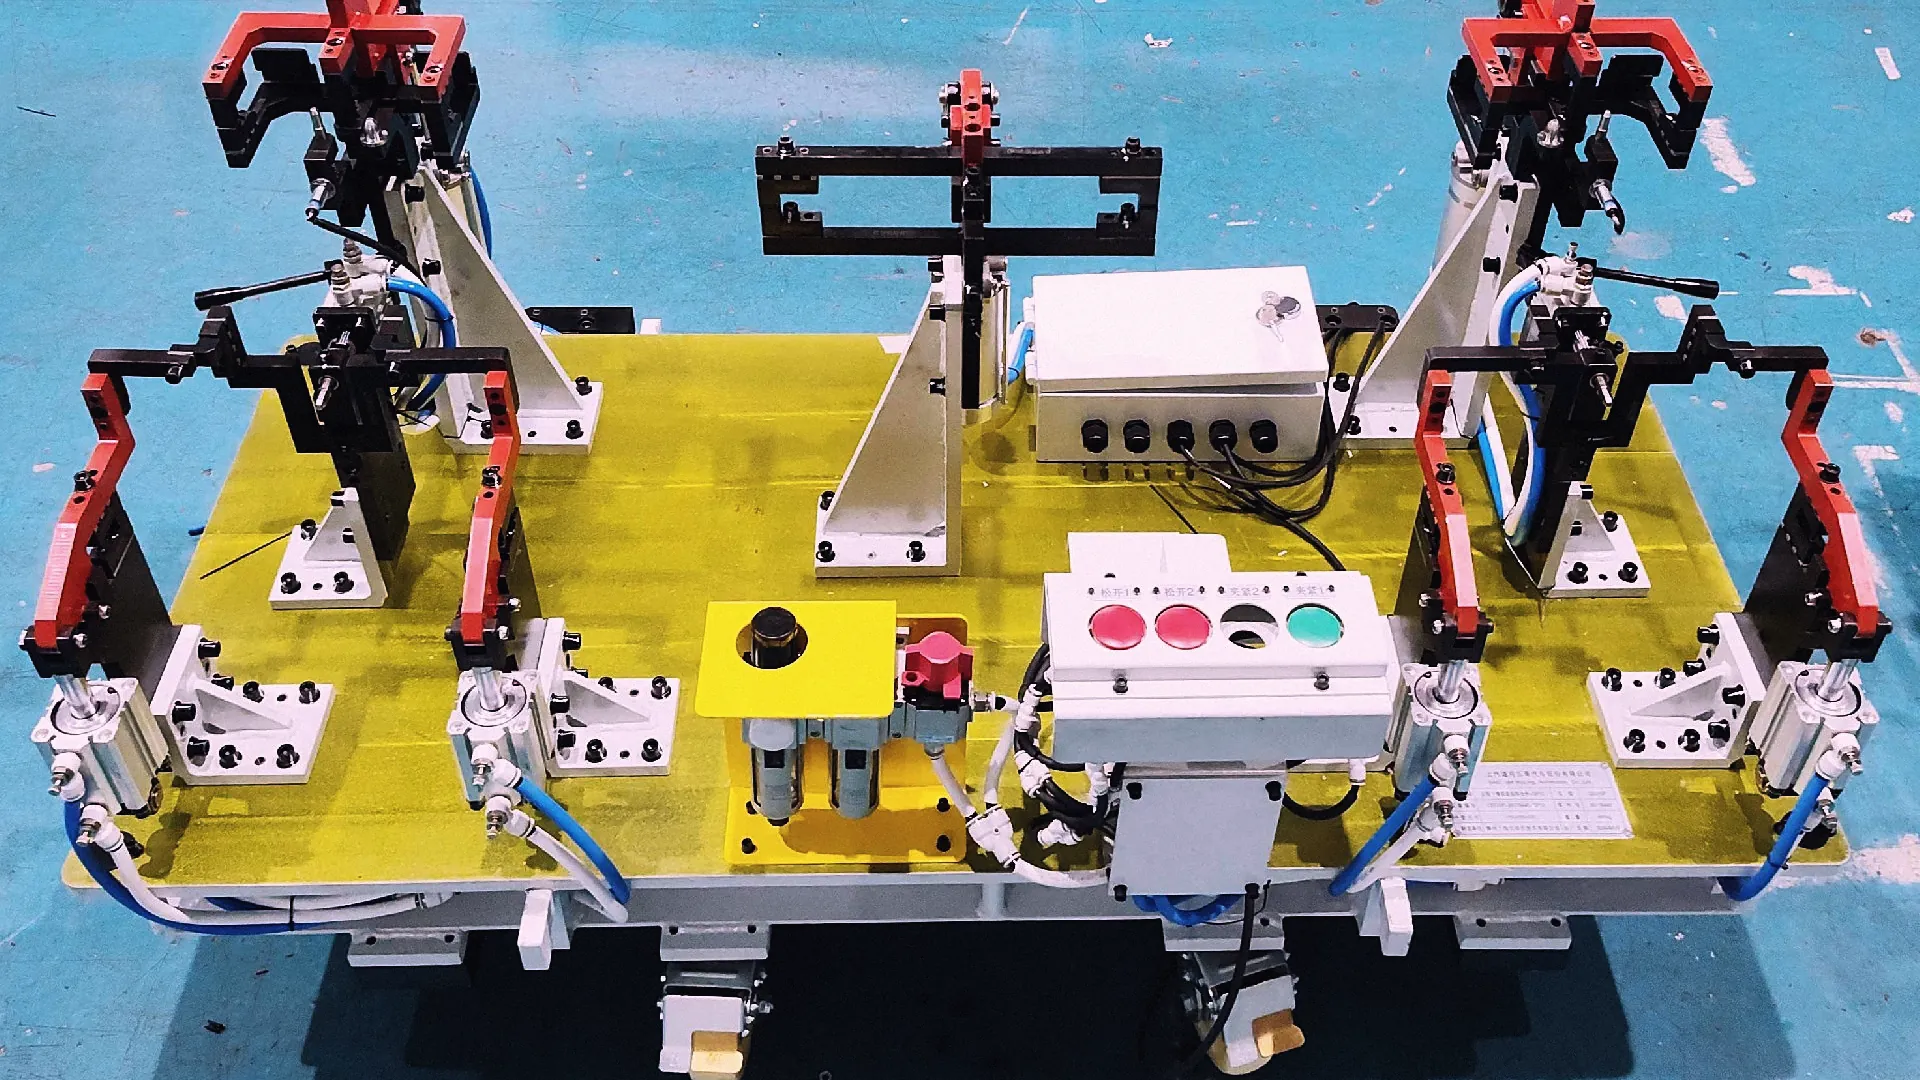
Good welding fixture design for robots starts with repeatability: every joint must arrive in the same place, within about half the welding wire diameter, every cycle. The fixture locates the parts on their datums, clamps them without distortion, leaves room for the torch and sensors, survives heat and spatter, carries the welding current properly and loads quickly. A robot repeats its program exactly, so the fixture largely decides whether welds land on the joint.
This guide covers the targets, the locating and clamping principles, heat and current, and the choice between modular and dedicated fixtures.
The repeatability target
Geoff Lipnevicius of Lincoln Electric gives a working rule in The Fabricator: joint location should repeat “within plus or minus half the diameter of the welding wire being used.” For 0.045 in. wire, that is ±0.022 in.; for 1.2 mm wire, about ±0.6 mm. Gap location and width need the same tolerance from part to part.[1]
Fit-up has a direct cost. Lipnevicius notes that poor fit-up can require 125% to 200% more weld metal, and that consistent upstream operations such as cutting, shearing, machining and bending are what make consistent fit-up possible.[1] The fixture cannot correct parts that arrive out of tolerance; it can only hold good parts consistently.
Locating: the 3-2-1 principle
A rigid part can move in six ways: along three axes and around three axes. The classic way to remove all six without forcing the part is the 3-2-1 principle:
- Three locators on the primary datum surface, usually the largest flat face, set the plane.
- Two locators on a secondary surface, at right angles to the first, set direction.
- One locator on a third surface sets the final position.
Use the same datums as the part drawing and the downstream assembly, so the welded part fits where it goes next. Pins through holes and hard stops are common locators; Lipnevicius notes that hard stops and locating points are often made of alloyed high-carbon tool steel for wear resistance.[1] Avoid extra locators that fight each other, since an over-constrained part springs when released.
Clamping and sequencing
Locators position the part; clamps hold it there. As the Strong Hand Tools guide in The Fabricator puts it, a part resting against a stop is not a substitute for clamping.[2]
- Clamp against the locators, so clamping force pushes the part onto them rather than bending it.
- Clamp close to the welds where distortion would otherwise open the joint.
- Sequence the clamps on multi-part assemblies so each part is seated before the next is clamped.
- Choose the clamp type for the volume. Manual clamping suits development and short runs; dedicated fixtures can use automatic and sequenced clamping with part proximity sensing, at the cost of wiring, pneumatic or hydraulic lines and a higher initial price.[1]
Heat, distortion and spatter
The fixture is part of the heat path. Lipnevicius describes copper and aluminum heat sinks that carry heat away and spread it, and notes that subassemblies can be arranged and programmed for low heat input to limit distortion. Because aluminum changes length and volume significantly with heat, it is generally avoided for locating; copper is more common for heat sinks.[1]
Spatter collects on flat surfaces and jams locators and actuators, so minimize flat fixture surfaces near the arc.[1] Where parts touch the fixture near the weld, aluminum-bronze is an option: it work-hardens and has less residual magnetism than tool steel.[1]
The welding current path
Arc stability depends on where the current returns. Lincoln Electric’s guidance:[1]
- Connect the work cable and sense lead directly to the workpiece, as close to the arc as possible.
- Keep work and sense cables apart from each other and from communication cables.
- Give each power source welding at the same time its own work lead; combining leads increases arc blow.
- Do not paint the bolted contact surface for the work cable.
- Connect work leads at the start of the joint and sense leads at the end, with travel moving away from the work lead.
Orientation, access and loading
A fixture on a positioner can present joints in the flat position, where gravity helps: Lipnevicius notes higher deposition and faster travel in flat welding, and that a 15-degree downhill torch motion on lap or T joints can raise travel speed by 10% to 25%. Overhead welding lowers deposition and throws more spatter onto the fixture.[1] Our guide on how a welding positioner works covers positioners.
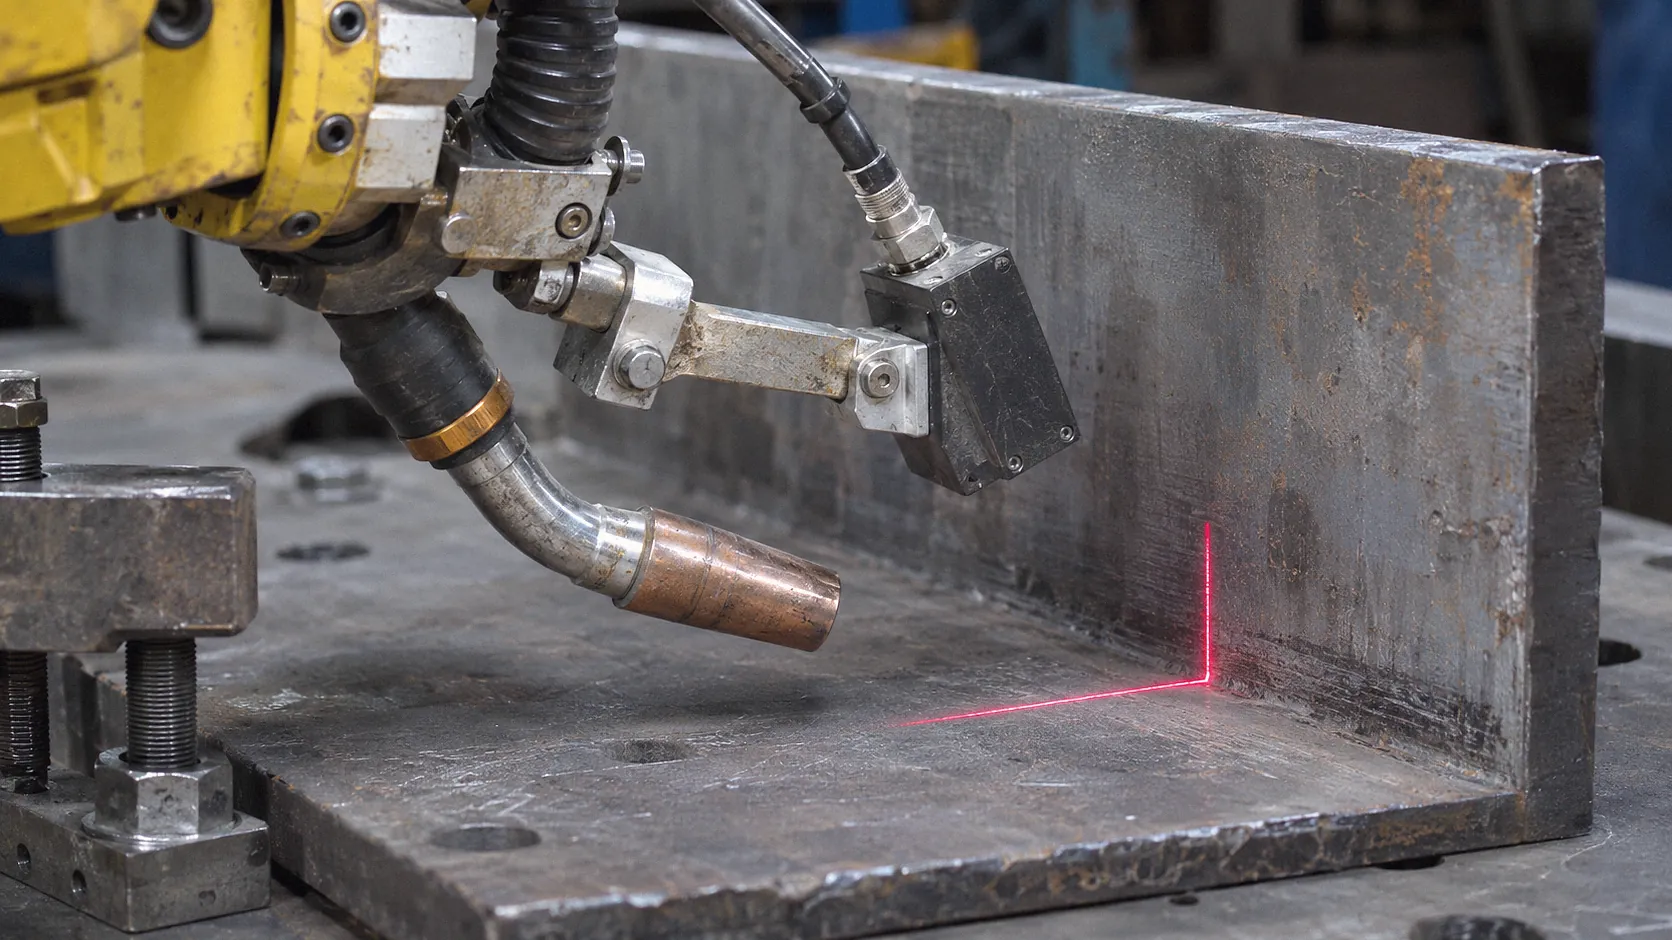
Leave clear access for the torch, seam-finding sensors and the operator’s view, with good lighting. Fixtures should sit at an ergonomic height and reach, and loading or unloading should not need force.[1] If touch sensing is used, the wire must be able to reach the search points; Yaskawa Motoman notes that touch sensing works on most lap and fillet joints but not square butt joints.[3] See our comparison of seam finding and seam tracking.
Modular, dedicated or flexible
| Fixture type | How it works | Suits |
|---|---|---|
| Modular | Table with an accurately machined hole grid; stops, brackets, spacers and clamps placed anywhere | Prototypes, one-offs, high mix and repeat jobs |
| Dedicated | Built for one part, often with automatic or sequenced clamping and part sensing | Volume production |
| Flexible | Adjustable or exchangeable locators for a family of similar parts | Product families, frequent variants |
Strong Hand Tools describes modular tables with “accurately machined holes for the setup of clamps and components at any point on the tabletop,” with stops forming the first right angle of a frame and adjustable brackets setting its size.[2] Lipnevicius warns that retrofitting semi-automatic fixtures for a robot is risky, because operators normally make adjustments on the fly that the robot cannot.[1]
Validate the fixture
Before production, weld first parts and measure them against the drawing: joint positions, gaps, final dimensions and distortion. Repeat after any fixture change. Record the result as part of acceptance; our guide on automation acceptance lists items to agree.
How SanSong can help
SanSong has built welding fixtures since 2014, including full-vehicle fixtures for automotive and construction-machinery parts, and designs fixtures together with its positioners, tracks and robot welding workstations. Its battery frame welding line combines flexible fixtures with seam finding and tracking.
To review a fixture concept, see robotic automation systems, see welding and positioning or send us the part drawings, datums and weld positions. Our article on robotic welding cell components shows where the fixture fits in the cell.
Frequently asked questions
How accurate does a robotic welding fixture need to be?
Lincoln Electric’s guidance in The Fabricator is that the joint location should repeat within plus or minus half the diameter of the welding wire, for example ±0.022 in. for 0.045 in. wire. Gap location and width need the same tolerance part to part.
What is the 3-2-1 locating principle?
A part has six degrees of freedom. Three locators on the primary datum surface, two on the secondary and one on the tertiary remove all six without over-constraining the part. Clamps then hold the part against those locators.
Should I use a modular or a dedicated welding fixture?
Modular fixtures on hole-grid tables suit prototypes, short runs and high-mix work. Dedicated fixtures with automatic or sequenced clamping and part sensing cost more but suit volume production.
Where should the welding work lead connect?
Directly to the workpiece and as close to the arc as possible, on an unpainted contact surface. Lincoln Electric also advises a separate work lead for each power source and connecting work leads at the start of the joint.
Sources
- Design objectives for robotic welding fixtures, The Fabricator (Geoff Lipnevicius, Lincoln Electric), .
- A guide to modular fixturing in welding, The Fabricator (Pam Farley and Kelvin Flores, Strong Hand Tools).
- Pros and Cons of Robotic Seam Finding and Seam Tracking, Yaskawa Motoman (Josh Leath), .
Editorial note: written from the public sources listed above and SanSong’s published product information, checked on the dates shown. It is general guidance, not legal or compliance advice. Specifications not yet published by SanSong are confirmed during the project review.